Custom Discord Bot
On the gold plan and above you have the ability to use a custom discord bot for letting players claim their roles. Our bot will still need to be on your server, and our bot will still issue the actual commands. But you can disable the default "/claimroles" command and let players use the one from your custom bot. And because it uses a bot from your Discord account, you have control over its avatar and name.

Important information#
Our bot needs to be (and stay) in your server#
Our bot will still be responsible for updating the roles, confirming ownership, giving roles, and revoking roles. As such it will need permission to take action. The custom bot does not need any special permissions and will only be for the players to interact with.
You cannot combine it into another bot#
Because we use HTTP for our bot (Discord sends commands to our API), it may not be possible to also run the bot yourself. Discord will send commands to our endpoint, and not on the Discord gateway.
Make sure to update the email#
The default email will show the /claimroles command, that may not be the one that you will use, so please modify it under [ Design -> Templates -> Active Template -> Receipt.html ].
Setup#
1. Create a server.#
Head to the servers section under [ Webstore -> Servers ] and create a Discord server, you can follow the normal guide: Discord Integration. After our bot is in your server and is linked, come back here to create your custom bot.
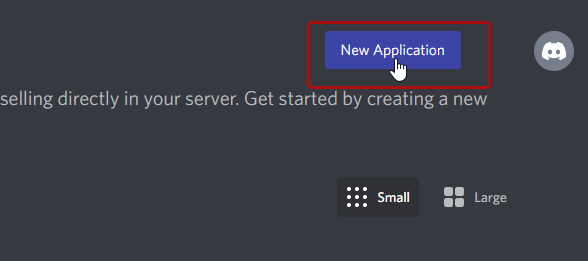
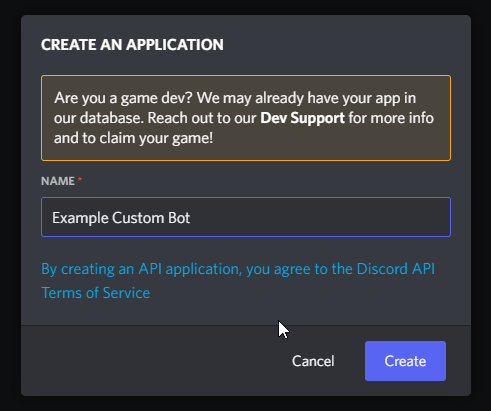
2. Create application on Discord.#
Go to the Discord developers portal (https://discord.com/developers/applications) and create a new application.
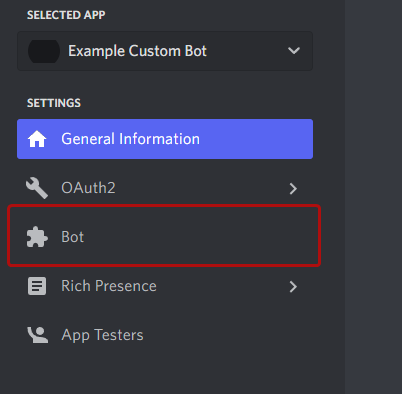
3. Add a bot to your new application.#
Besides the application, your application also needs a bot, click "Bot" in the sidebar and then "Add bot" at the right top.
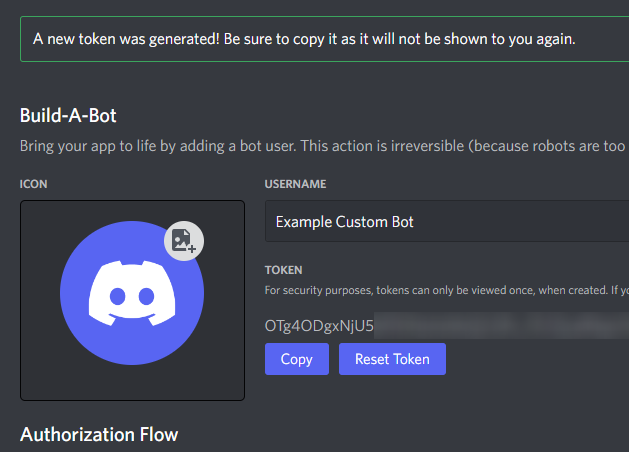
4. Create a secret (token) for your bot#
Generate a new token, and copy it in a save place, you will need it later.
5. Invite your bot to your server#
Now it's time to invite your new bot to your server, when configuring your bot to be handled by CraftingStore we will try to create a slash command (that you can configure) that will be used for claiming, so the bot needs to be in your server. The CraftingStore bot must also be there.
Take the following link: https://discordapp.com/oauth2/authorize?client_id=REPLACE_ME&scope=bot%20applications.commands&permissions=0
And replace "REPLACE_ME" with the application Id from the "General Information" tab on the discord developers page. Make sure that you use the link above, as it includes the "commands" scope: This is required, because we need to be able to create a command for your players to use.

6. Create the custom bot on the CraftingStore dashboard.#
Now it's time to provide us with the information to manage your bot. Go to the server that you created on our dashboard and click "set-up". Then choose "Custom Bot", and enter the information. You can find all the required keys on the Discord developers dashboard.

7. Let us manage your bot#
To reply to commands that your users type, we will let Discord send the commands to our API. Go to the Discord developers dashboard and find the "Interactions endpoint URL" and enter: https://api.craftingstore.net/discord/v1/custom/slashcommand
If you invited the bot to your server, and it has the right scope, you'll see a successful message on Discord.


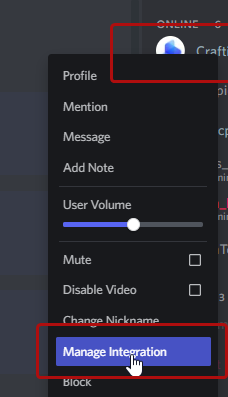
8. Disable the commands on the default CraftingStore bot (optional)#
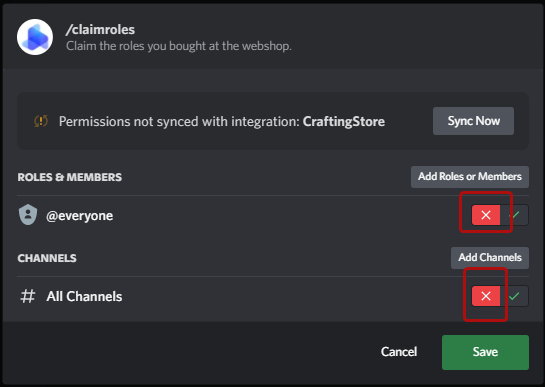
You can also disable the commands on our bot, so your players cannot even see them, fully hiding our bot from them.
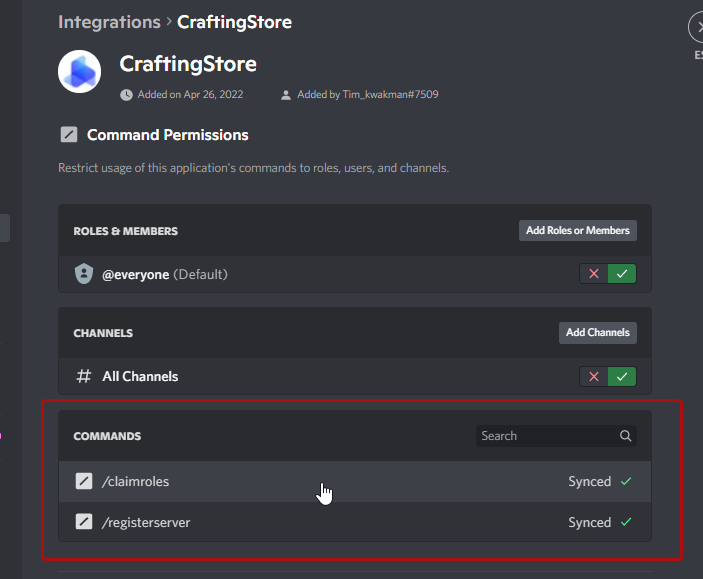
Right click our bot and click "Manage Integration".
You can disable the permission for the @everyone group, this will remove both commands from the autocomplete. You (as the admin of the server) can still see them in the list, but normal members won't be able to see them. They will just see the custom command for your custom bot.